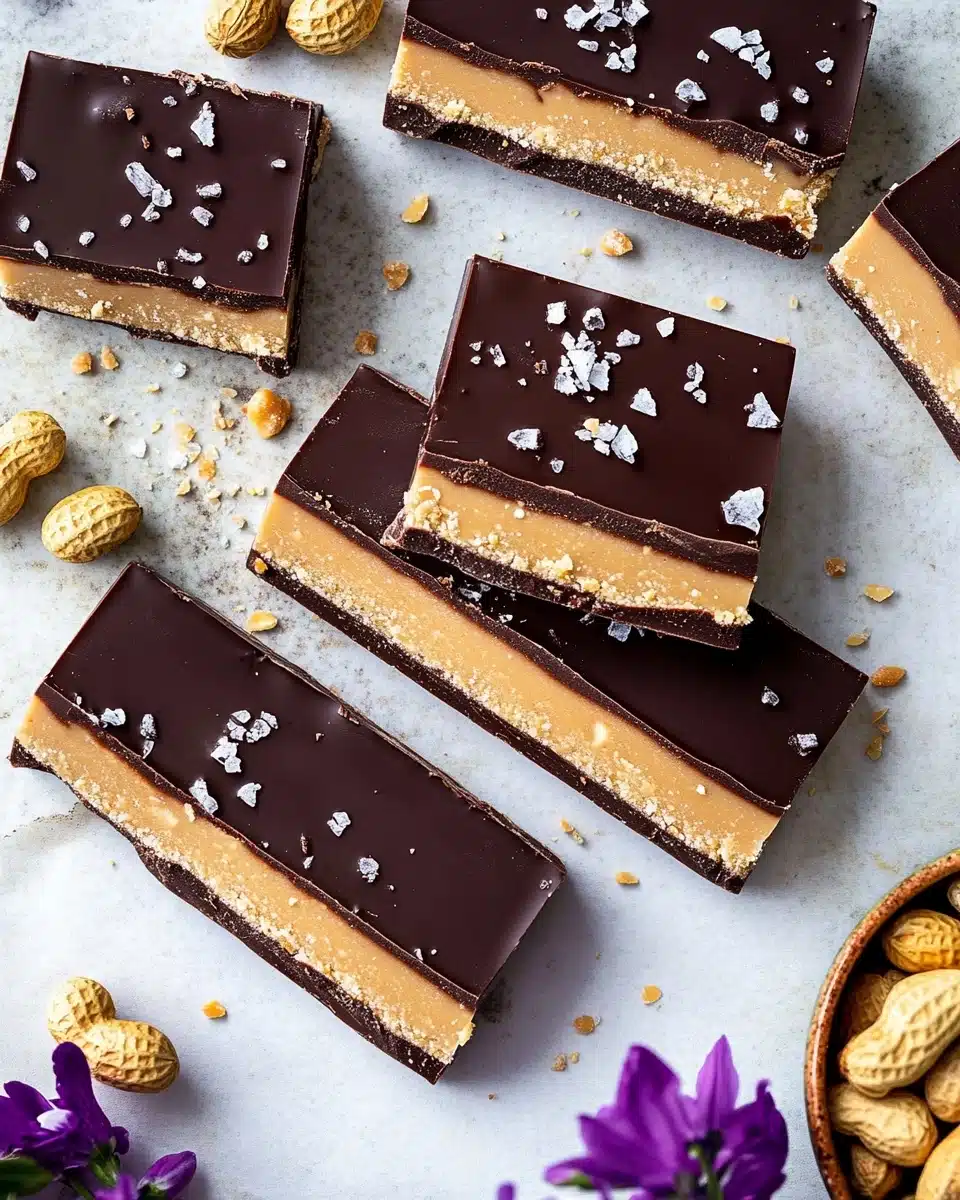
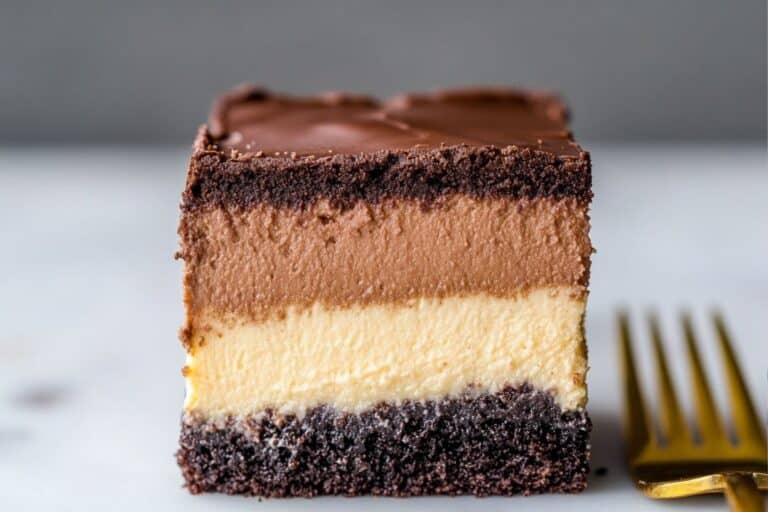
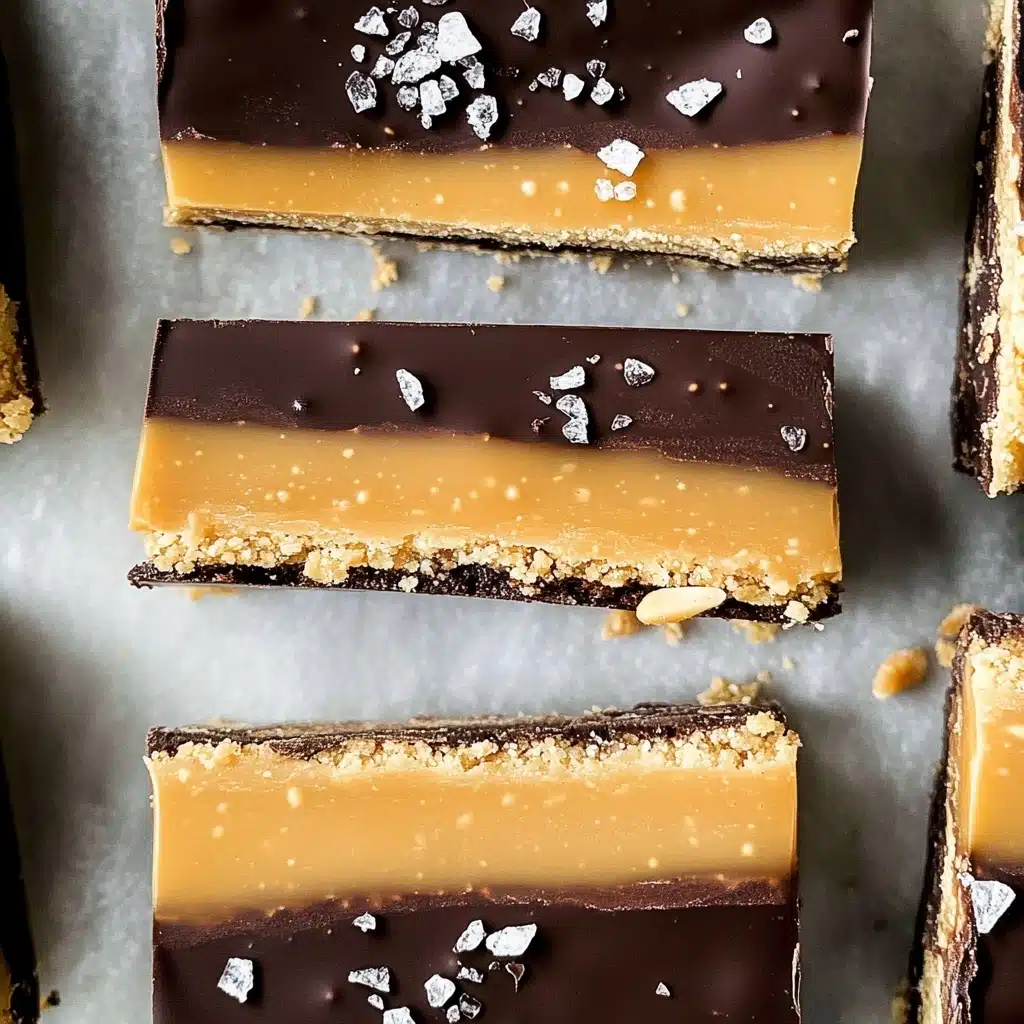
These Chocolate Peanut Butter Bars are everything you crave in a homemade sweet treat—crunchy, luscious, and irresistibly rich, with chewy caramel and a thick chocolate topping. If you grew up loving Snickers bars but want a homemade twist, this mouthwatering take with a buttery almond shortbread base is about to become your new obsession!
Why You Should Make This Recipe
- Bursting with Nostalgic Flavor: Each bite of these Chocolate Peanut Butter Bars channels pure classic candy bar vibes, only fresher and more satisfying!
- Easy and Stress-Free: No candy thermometer or special skills needed—just a simple process, pantry staples, and a little patience as the layers chill.
- Crowd-Pleasing: Perfect for parties, lunchbox surprises, or that cozy night on the couch; everyone, from kids to adults, will race for seconds.
- Secretly Wholesome: Made with almond flour, coconut oil, and pure maple syrup, these bars have a better-for-you twist without sacrificing flavor.
Ingredients & Substitutions
One of my favorite things about Chocolate Peanut Butter Bars is how a handful of simple, real ingredients create something downright magical. Each layer brings a new flavor and texture to the party. Here’s a quick look at what you’ll need—and a few smart swaps you can make if you’re feeling adventurous!
- Blanched Almond Flour: This makes the shortbread crust super delicate and buttery. If you prefer, you can substitute with regular all-purpose flour, but the bars won’t be gluten-free.
- Coconut Oil: Used in every layer, it keeps things tender and helps set the bars beautifully. Melted unsalted butter or vegan butter works in a pinch for the crust.
- Pure Maple Syrup: Not just for pancakes! Maple syrup sweetens the base and the caramel layer, bringing deep, warm notes. Honey or agave can be swapped in, but the flavor will shift slightly.
- Vanilla Extract: A splash lifts the entire bar, adding depth to both the crust and the caramel.
- Salt: Just a pinch in the base and a dash in the caramel brings out all the sweet and nutty flavors. Don’t skip!
- Roasted Salted Peanuts: Roughly chopped for the ideal crunch. If you’re nut-free, try roasted sunflower seeds or skip this layer entirely.
- Creamy Peanut Butter: The star of the show in the caramel center. Natural or conventional both work, just make sure it’s nice and creamy.
- Dairy-Free/Vegan Chocolate Chips: For the silky, snappy chocolate top. Use your favorite brand and feel free to sub in chopped chocolate or conventional chips if dairy isn’t a concern.
How to Make Chocolate Peanut Butter Bars
Step 1: Prepare the Shortbread Base
Preheat your oven to 350°F and line an 8×8-inch pan with parchment paper, leaving a bit of overhang for easy removal. In a medium bowl, combine almond flour, melted coconut oil, maple syrup, vanilla, and salt. Stir together until the mixture looks like soft, crumbly dough, then press it firmly and evenly into your pan. Bake for 8–10 minutes, just until it’s barely golden, then let it cool while you prep the next layer.
Step 2: Add the Peanuts
Once the shortbread base has cooled for about 10 minutes, scatter the roughly chopped, roasted salted peanuts evenly over the surface. This not only adds major crunch but also that classic “Snickers” nutty bite.
Step 3: Make the Peanut Butter Caramel Layer
While the base is cooling, add creamy peanut butter, maple syrup, coconut oil, vanilla, and a dash of sea salt to a saucepan over medium-low heat. Stir frequently for about 2 minutes until the mixture is smooth, shiny, and just starting to bubble. Pour this golden caramel evenly over the peanuts and crust, smoothing into all the corners. Pop the pan in the fridge for 30 to 60 minutes (or the freezer for 15 to 20 if you’re impatient!) until the layer is set.
Step 4: Add the Chocolate Layer
In a microwave-safe bowl or over low heat on the stove, gently melt your chocolate chips with a tablespoon of coconut oil. Stir until everything is glossy and smooth. Pour over the chilled peanut butter layer, tilting the pan back and forth so the chocolate flows over every inch. Return to the fridge for at least 1 hour so the chocolate firms up and the bars become perfectly sliceable.
Step 5: Cut and Enjoy
Once set, use the parchment sling to lift the bars from the pan. Grab a sharp knife, slice the slab in half crosswise, then cut each half into 8 long bars (not squares) for that classic look. You’ll end up with 16 gorgeous Chocolate Peanut Butter Bars, ready to devour!
How to Serve Chocolate Peanut Butter Bars
Garnishes
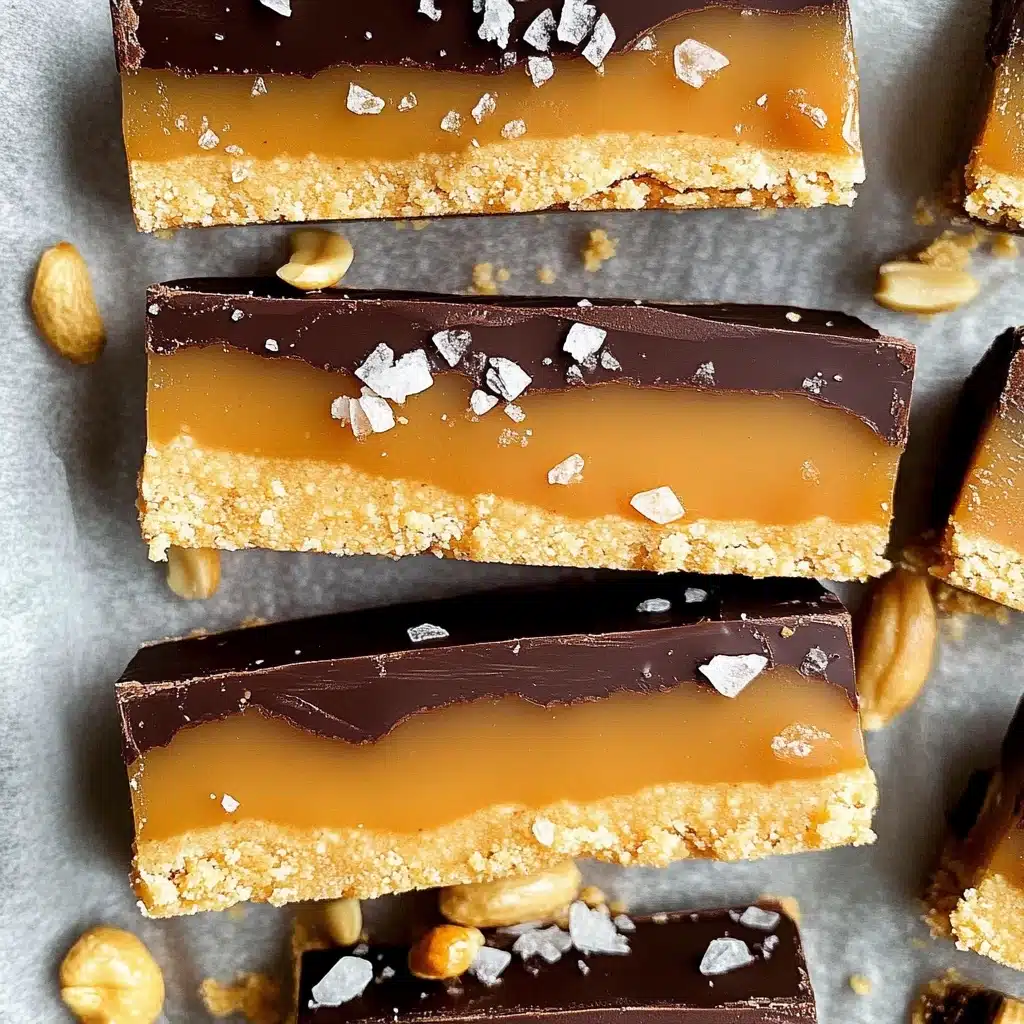
To really impress, sprinkle your Chocolate Peanut Butter Bars with a bit of flaky sea salt or an extra handful of chopped roasted peanuts on top just before the chocolate sets. For a more decadent touch, a quick drizzle of melted white or dark chocolate will make them look bakery-worthy.
Side Dishes
These bars are bold enough to stand alone, but they pair beautifully with a scoop of vanilla nice cream, a cup of really good coffee, or some fresh sliced strawberries for a balancing burst of fruitiness.
Creative Ways to Present
Try serving your Chocolate Peanut Butter Bars stacked high on a pretty cake stand, tucking them into parchment wrappers for a “candy bar” vibe, or arranging them alongside chocolate-dipped fruit for a sweet dessert platter. You could even cut them into fun shapes with a sharp knife or cookie cutter for parties and lunchboxes.
Make Ahead and Storage
Storing Leftovers
Store any leftover Chocolate Peanut Butter Bars in an airtight container in the refrigerator. They’ll stay fresh and delicious for up to a week, so feel free to make them ahead for whenever a craving hits.
Freezing
Yes, you can absolutely freeze these! Stack the bars between layers of parchment or wax paper in a freezer-safe container. They’ll keep perfectly for up to 2 months—just let them thaw in the fridge or at room temperature before serving.
Reheating
I love Chocolate Peanut Butter Bars cold, but if you prefer them a little softer, just let them sit at room temperature for 10–15 minutes. Avoid microwaving, as the chocolate may melt and lose its lovely texture.
FAQs
-
Can I use crunchy peanut butter instead of creamy?
Absolutely! Crunchy peanut butter will add a fun, extra bit of texture. Just make sure it spreads evenly in the caramel layer, and be prepared for a little more “peanutty” crunch in every bite.
-
Can I make these Chocolate Peanut Butter Bars gluten-free?
Yes, these are naturally gluten-free thanks to almond flour. Just double-check that your other ingredients (especially chocolate and peanut butter) are certified gluten-free if needed.
-
How do I prevent the layers from separating when slicing?
For super clean cuts, make sure the bars are well chilled. Use a sharp knife, wipe it clean between slices, and if needed, let the bars sit out for a minute or two so the chocolate top doesn’t crack.
-
What kind of chocolate works best for the top layer?
Dairy-free or regular semi-sweet chocolate chips both melt beautifully and taste great. You can experiment with darker or even milk chocolate if that’s your preference—just keep the coconut oil for shine and an easy-to-slice texture.
Final Thoughts
If you’re a fan of salty-sweet treats or want to relive your favorite candy bar memories, these Chocolate Peanut Butter Bars are an absolute must-try. They’re just the right amount of decadent, and the process is simple enough for any weeknight craving. I can’t wait for you to share a batch with family and friends—or, honestly, just keep them all to yourself!
Print
Chocolate Peanut Butter Bars (Homemade Snickers) Recipe
- Prep Time: 10 minutes
- Total Time: 2 hours
- Yield: 16 bars 1x
- Category: Baking
- Method: Baking
- Cuisine: American
Description
Indulge in these homemade Chocolate Peanut Butter Bars that taste just like Snickers. A decadent treat perfect for satisfying your sweet tooth!
Ingredients
For the Shortbread Base:
- 1 1/2 cups finely ground blanched almond flour
- 3 Tablespoons melted and cooled coconut oil
- 3 Tablespoons pure maple syrup
- 1 teaspoon vanilla extract
- A pinch of salt
For the Peanut Butter Layer:
- 3/4 cup roasted salted peanuts, roughly chopped
- 3/4 cup creamy peanut butter
- 1/3 cup pure maple syrup
- 1/4 cup coconut oil
- 1 teaspoon vanilla extract
- A dash of sea salt
For the Chocolate Layer:
- 3/4 cup dairy-free/vegan chocolate chips
- 1 Tablespoon coconut oil
Instructions
- Shortbread Base: Preheat oven to 350°F. Combine almond flour, coconut oil, maple syrup, vanilla, and salt. Press into a pan and bake.
- Peanut Butter Layer: Sprinkle peanuts over cooled crust. Heat peanut butter, maple syrup, coconut oil, vanilla, and salt, then pour over peanuts.
- Chocolate Layer: Melt chocolate chips with coconut oil and pour over the peanut butter layer. Chill until set. Cut into bars and enjoy!
Notes
- For a nut-free version, you can try using sunflower seed butter and sunflower seeds instead of peanut butter and peanuts.
- Store these bars in an airtight container in the refrigerator for up to a week.
Nutrition
- Serving Size: 1 bar
- Calories: 240
- Sugar: 9g
- Sodium: 90mg
- Fat: 18g
- Saturated Fat: 7g
- Unsaturated Fat: 10g
- Trans Fat: 0g
- Carbohydrates: 17g
- Fiber: 3g
- Protein: 6g
- Cholesterol: 0mg

